
According to my mom, my maternal great grandmother kept a bowl of soil next to the kitchen sink just to dip her hands into whenever she missed being in the garden. Her daughter, my grandma, did not have much of an interest in gardening and was more inclined toward sewing and other indoor creative activities. My mom always said the traits must alternate a generation, since she loves being in the garden. I have dabbled in both indoor and outdoor pursuits—but I was hesitant to jump into the gardening world. I was intimidated by the massive amounts of knowledge most gardeners seem to have and the seemingly endless amounts of time they dedicate to keeping their gardens thriving and beautiful.
I was mostly an indoor kid, thanks to Nickelodeon, so I didn’t spend much time in the garden with my mom. My interest in gardening was piqued later in life when I started eating more vegetables as part of my vegan diet. I was encouraged by other novice gardeners diving into gardening with a passion and growing their own food. My sister’s burgeoning knowledge of permaculture was also motivating—it was reassuring to know I could go to her or my mom with any garden questions that came up. Of course, the Internet is always a good place to look for answers—but I find that the information from an experienced gardener’s mouth is always more thorough and informative.
I have dabbled over the past five years, and this is the first year I actually feel like a gardener—but I still don’t know what I’m doing! I’ve learned that it’s okay. There’s always the next growing season and plants are surprisingly resilient.
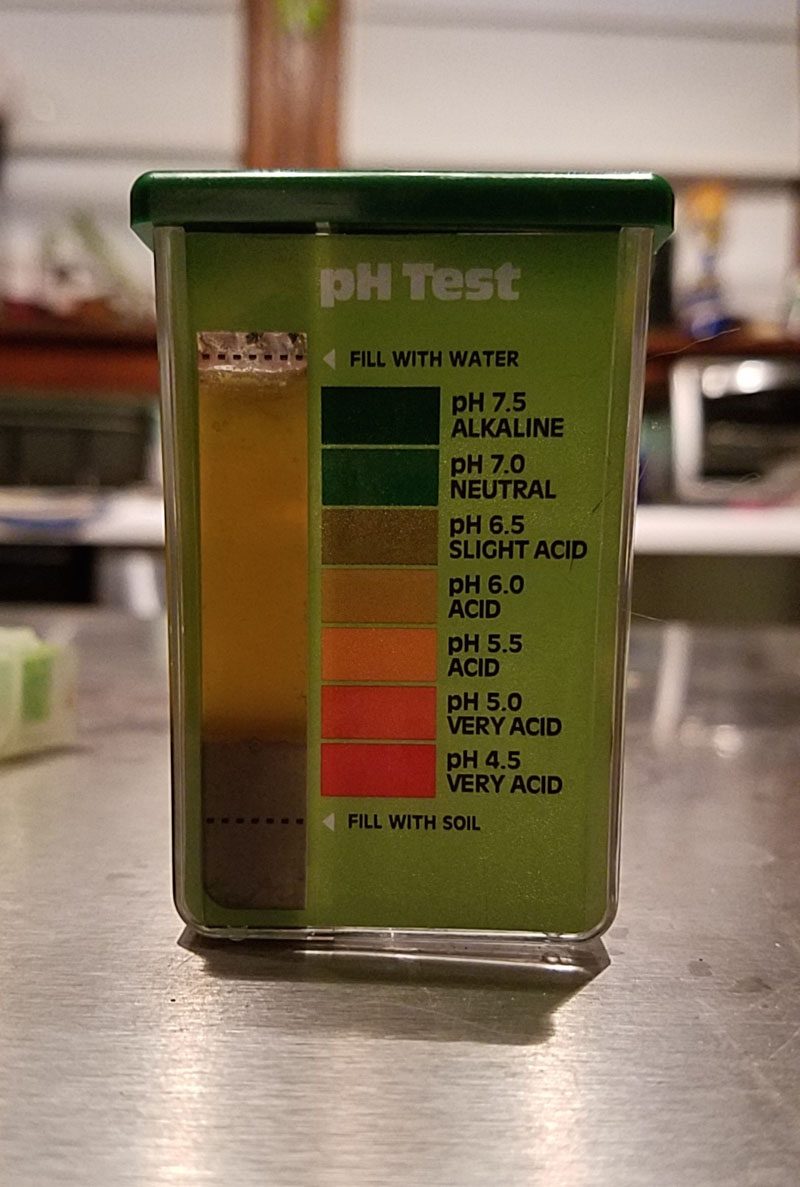

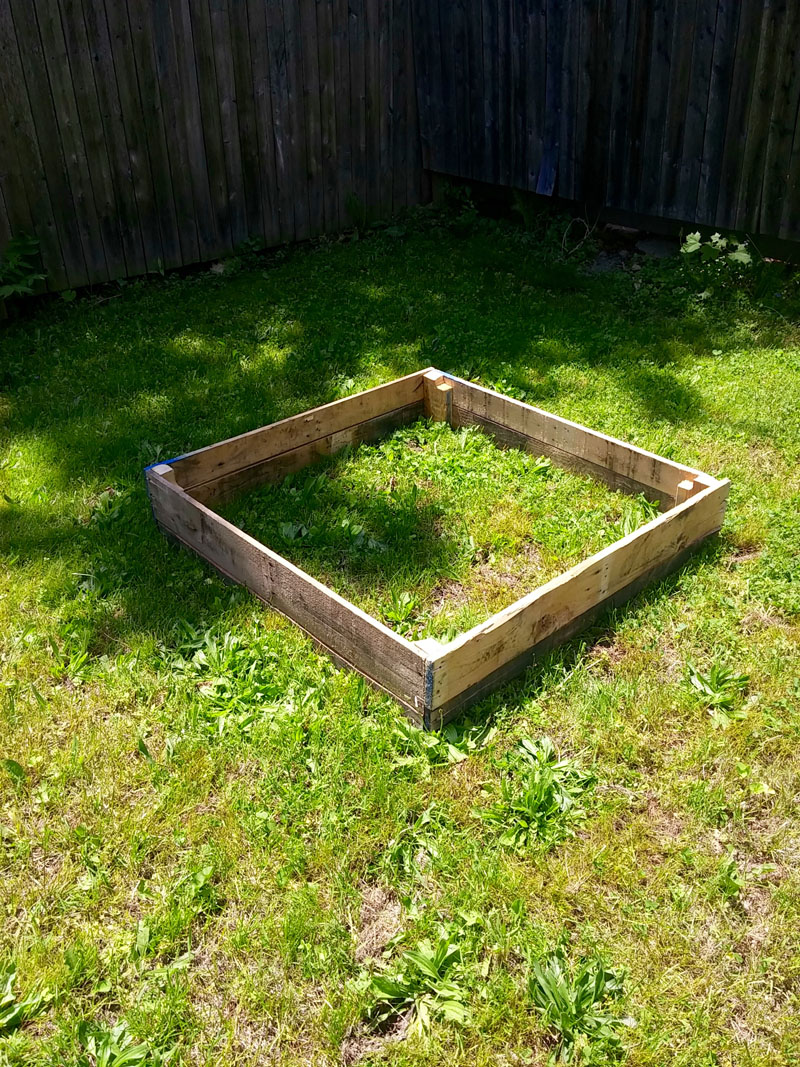
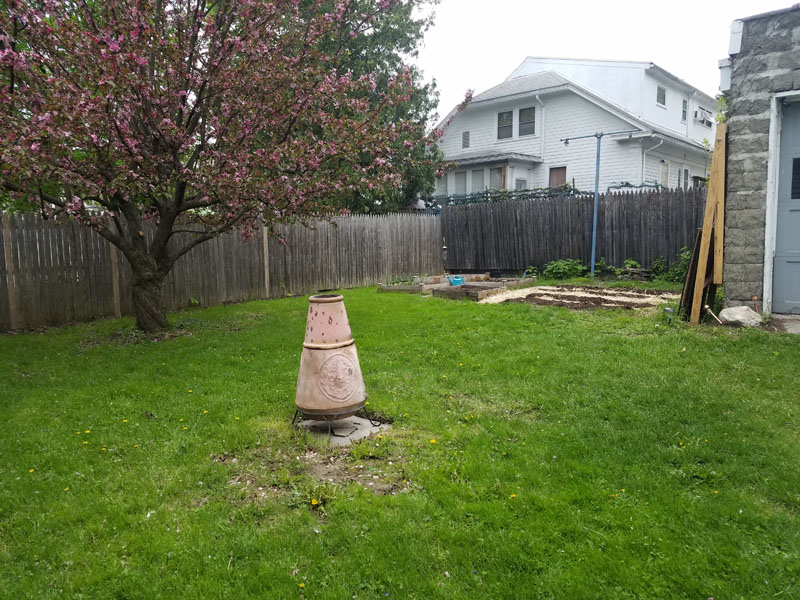
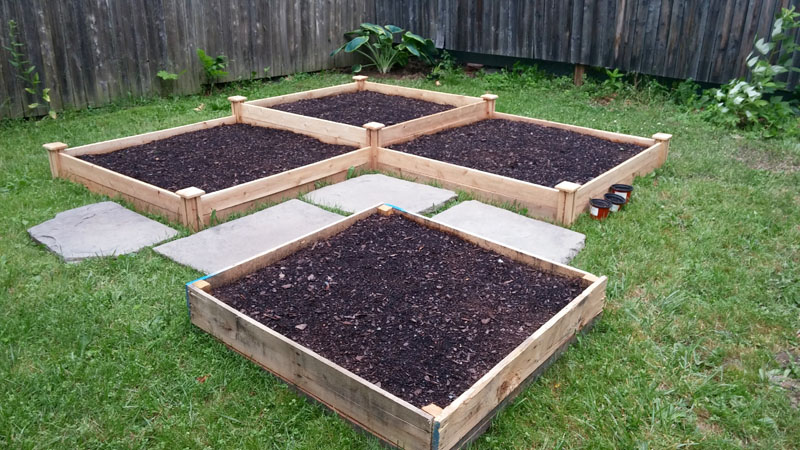
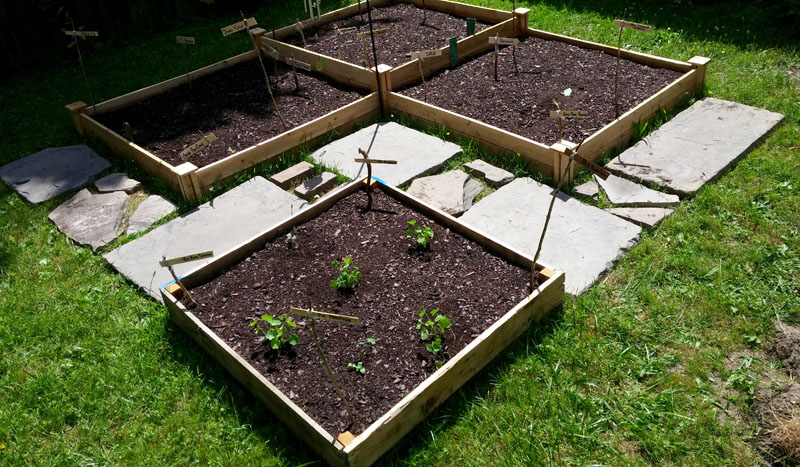
[Above, Left] I started with beds last year because I wasn’t sure about the soil in my yard and I don’t know much about amending soil. Turns out the soil is pretty alright! The test lets you know what ph balance you should aim for. [Above, Center] The simultaneous building of a raised bed and drinking of a Corona whilst getting a sunburn with lines to last the entire summer. [Above, Right] The end result.
A word to the wise about gardening: the initial money and time investment can quickly get out of hand. I advise starting small so you don’t get overwhelmed and give up. For example, this is the start of the third growing season at our house, which we bought in March 2015. That first summer, I only planted a tomato plant that was gifted to me (and only gave me a couple tomatoes), and set up a compost bin. Last summer, I had plans to make raised beds out of pallets. I procrastinated that project until Memorial Day weekend and ended up ordering most of my raised beds on Amazon because that was a million times easier than the first one I’d made from pallet wood. In the end, done is better than perfect—and there is often a less expensive and/or less time-consuming solution to the bigger problems.
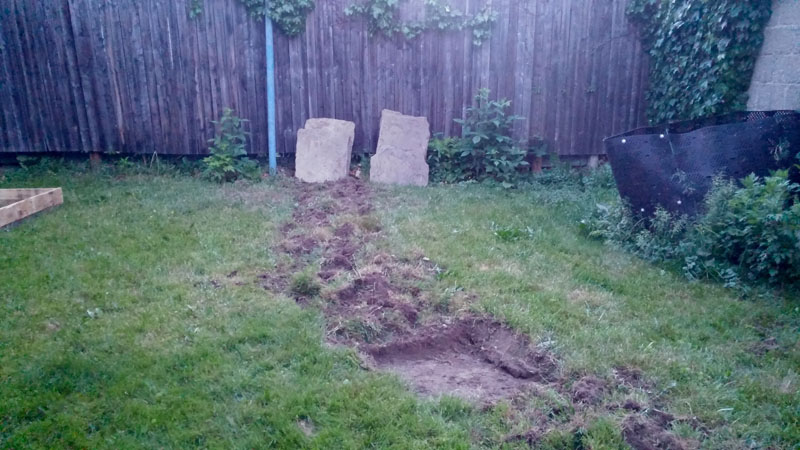
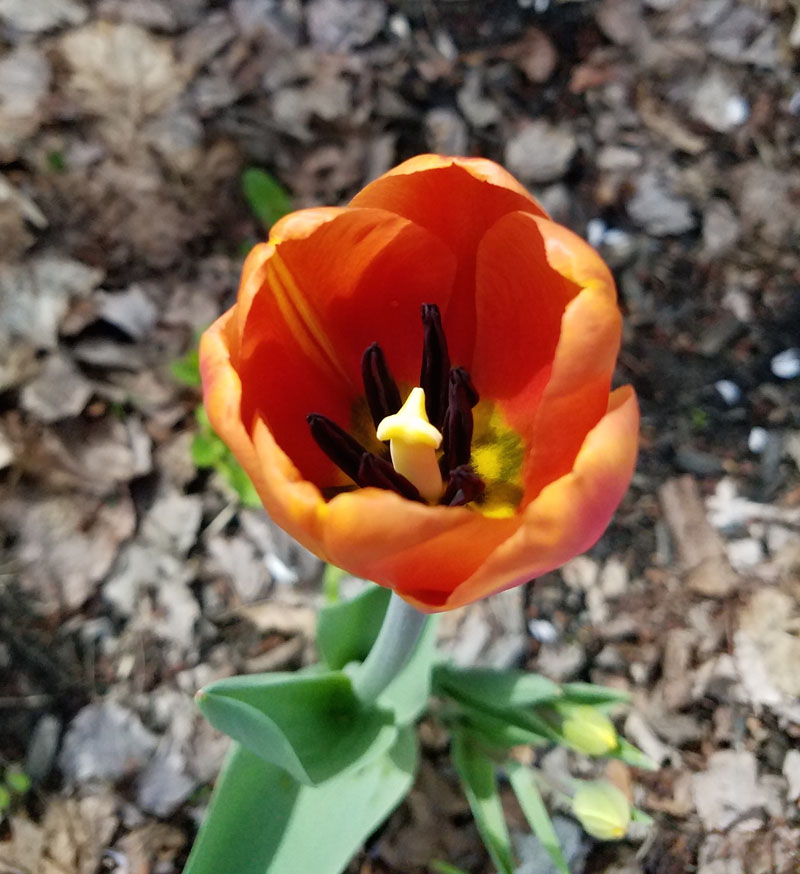
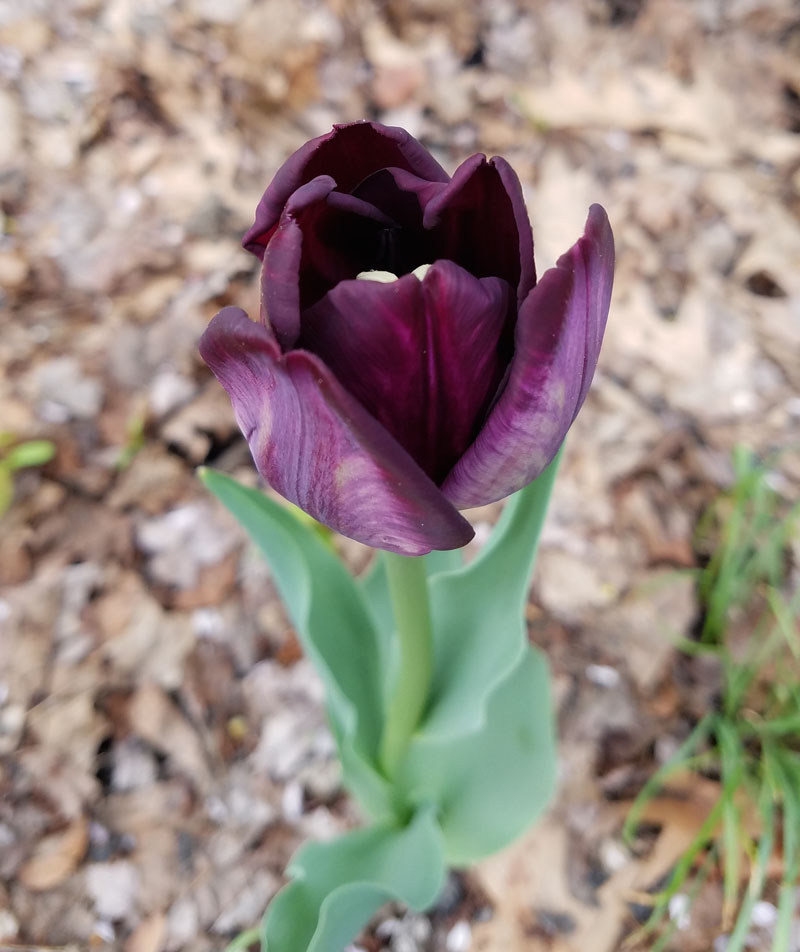
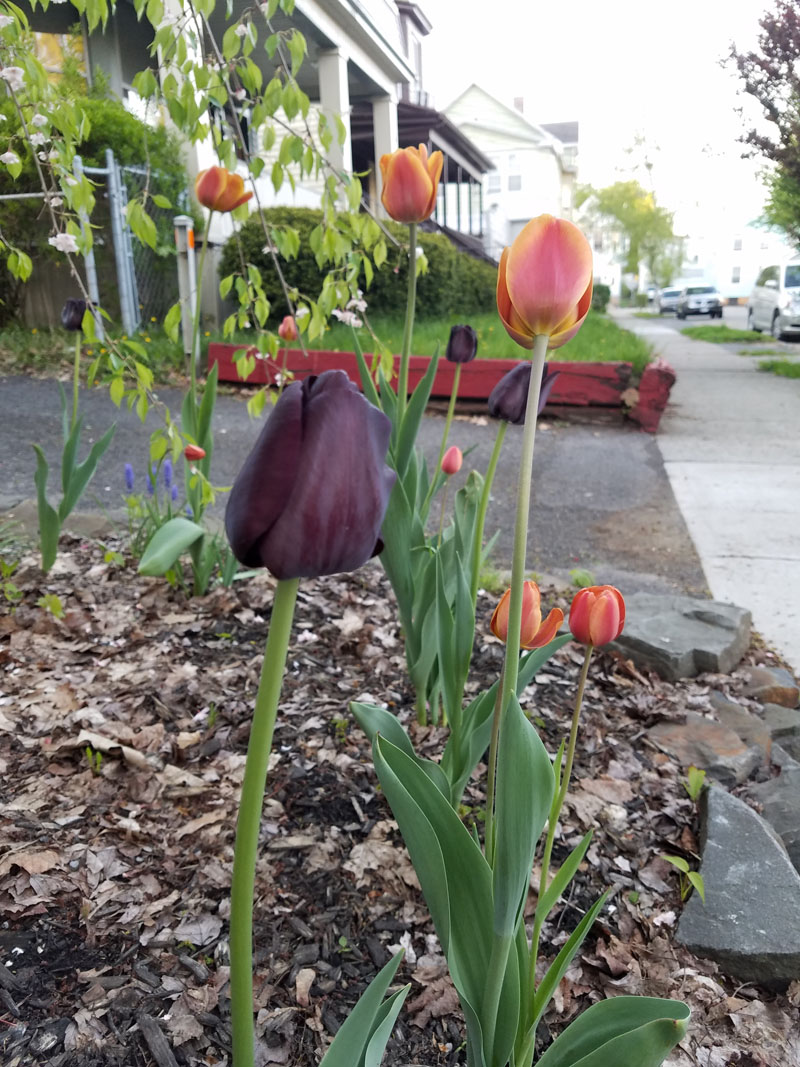
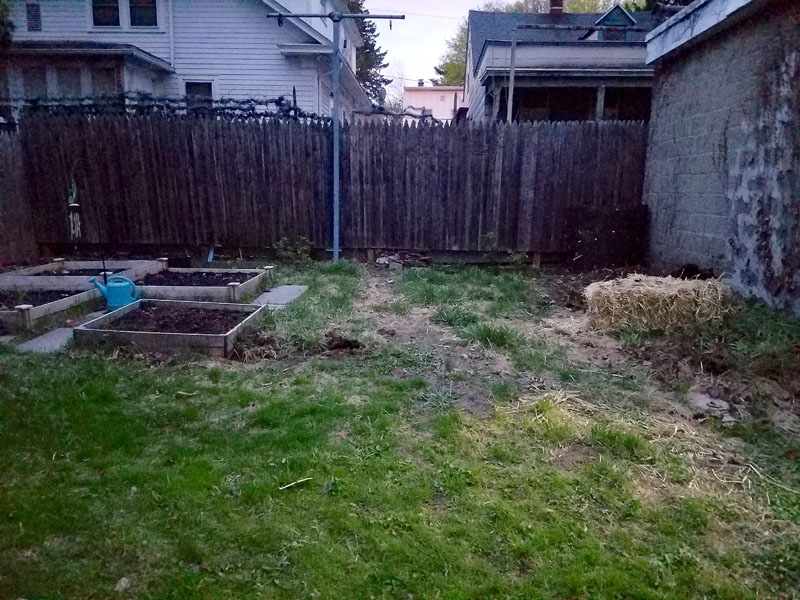
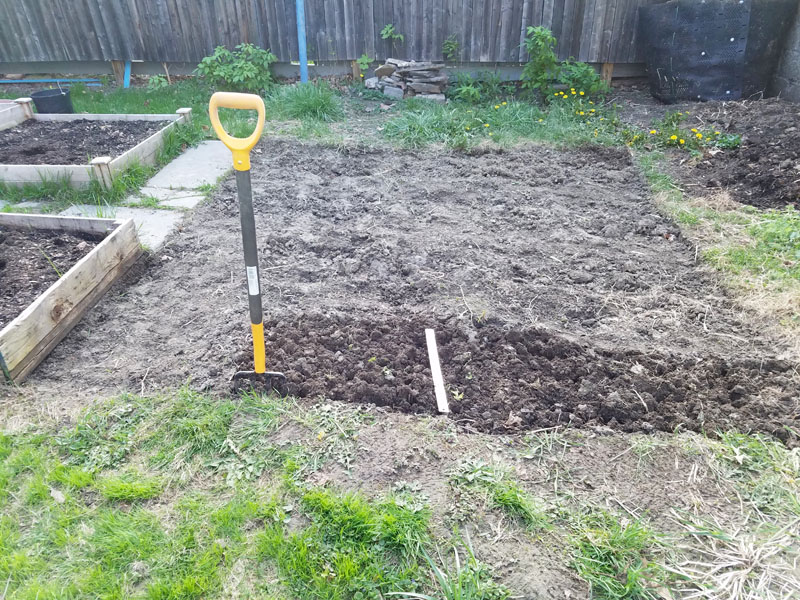
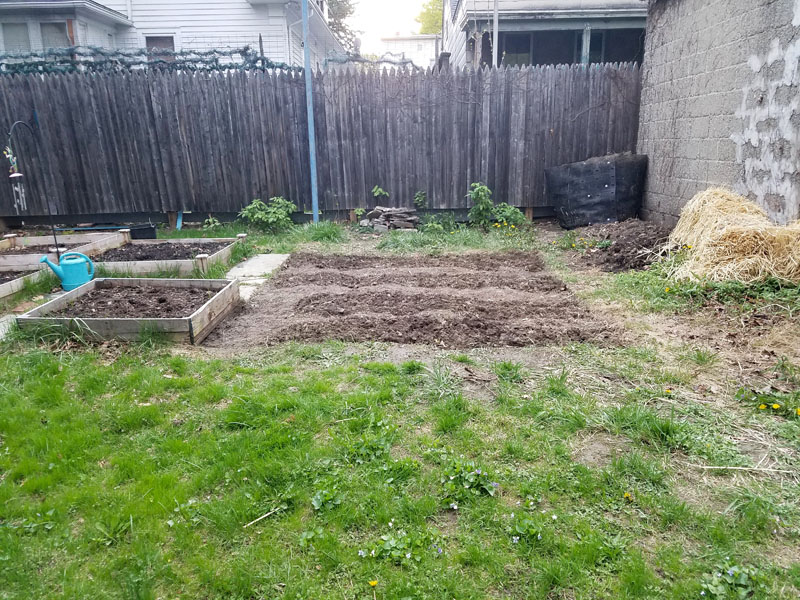
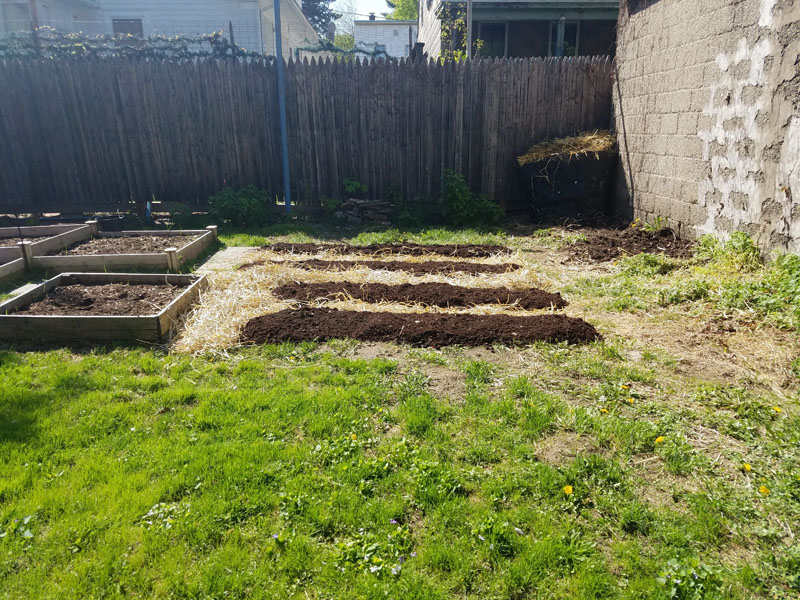
This year, I already have garlic and tulips coming up that I planted in the fall. I placed an order of seeds through Honest Weight Food Co-op’s group discount with the Fedco Seeds catalog early this year. I even made a spreadsheet with vital information about planting times and preferred conditions. I’ve got those sprouted baby plants under grow lights in the basement and realized I won’t be able to fit all that I started inside in my current beds. So I dug up a patch next to my beds that was uneven and patchy anyway.
![The blank patch before the digging.]](http://www.yogatropic.com/wp-content/uploads/2017/06/april17start.jpg)
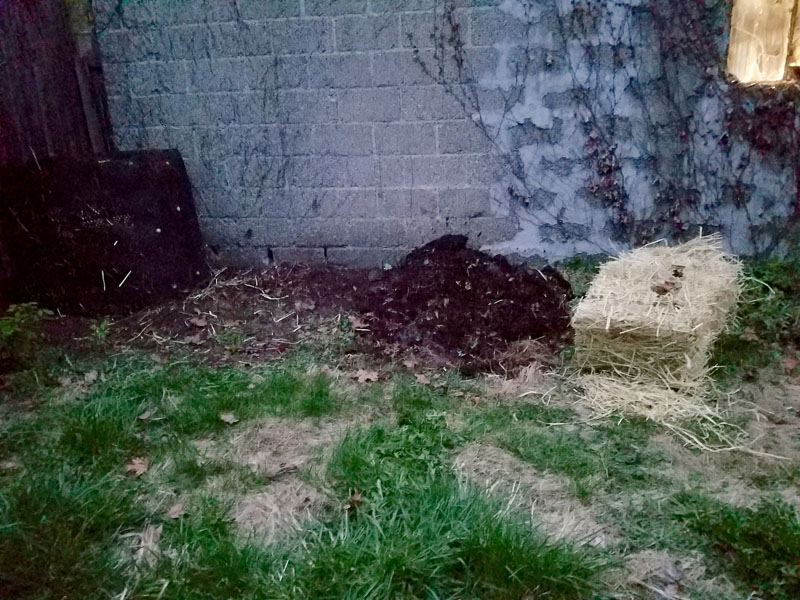
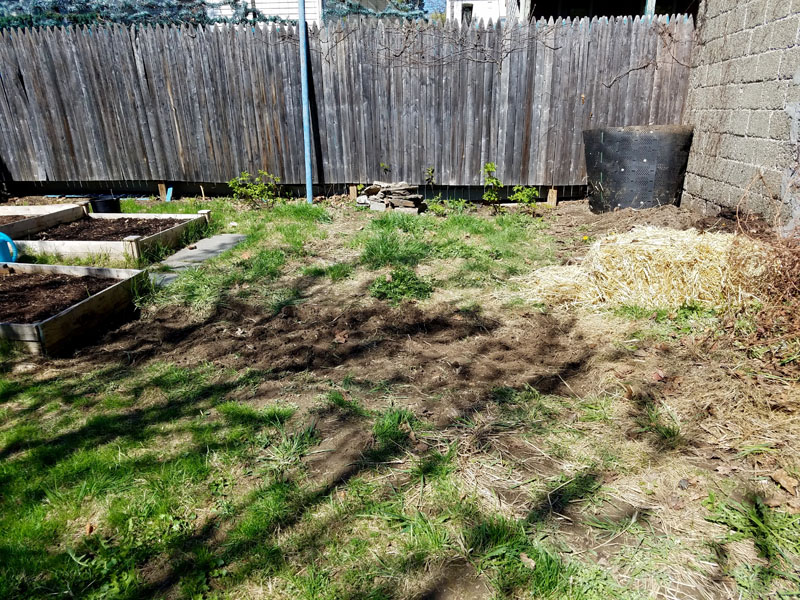
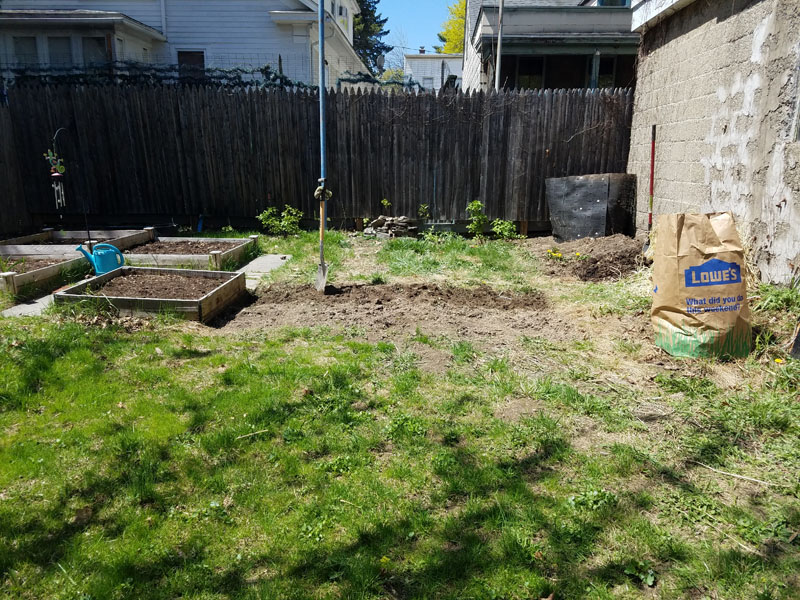
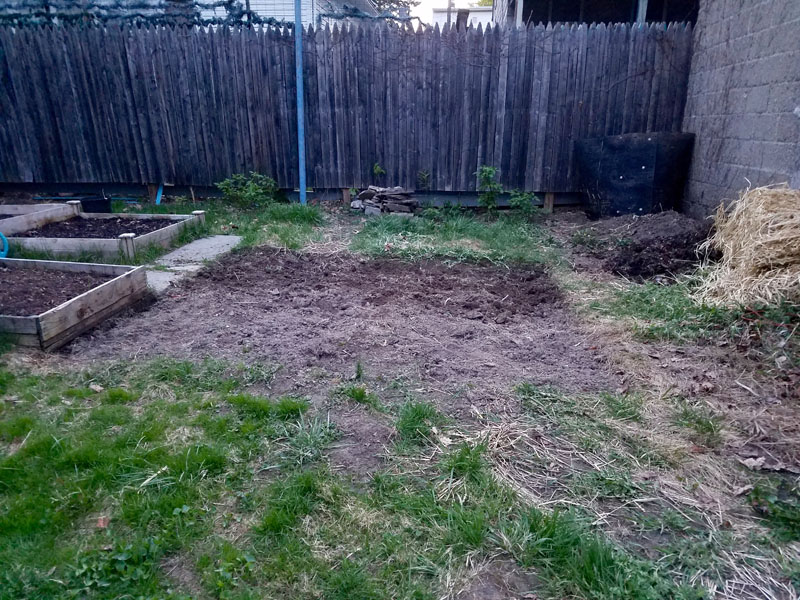
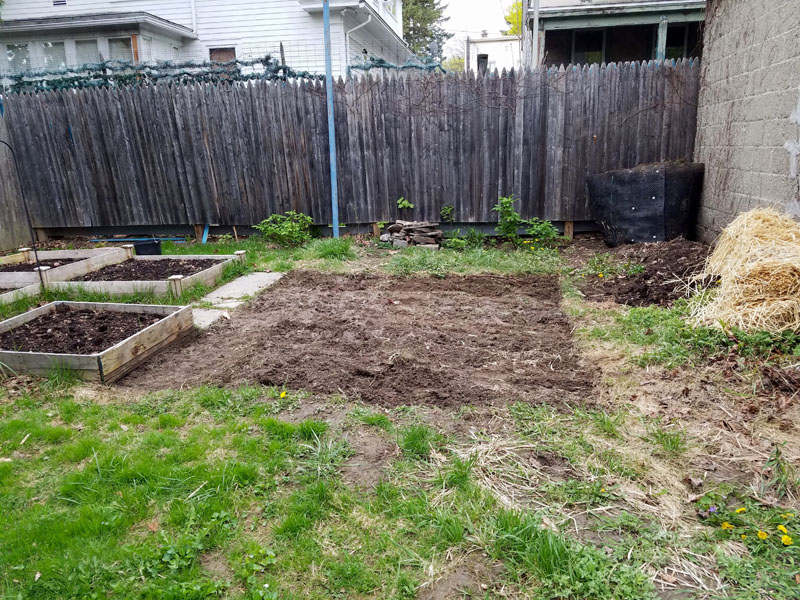
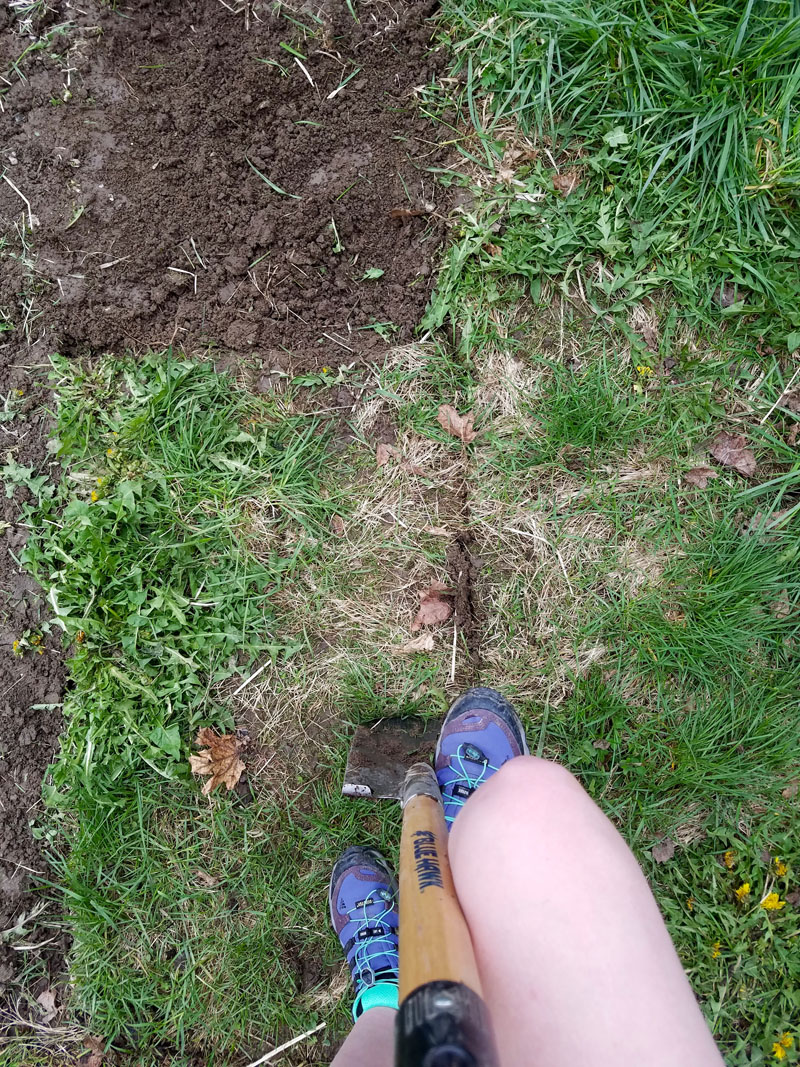
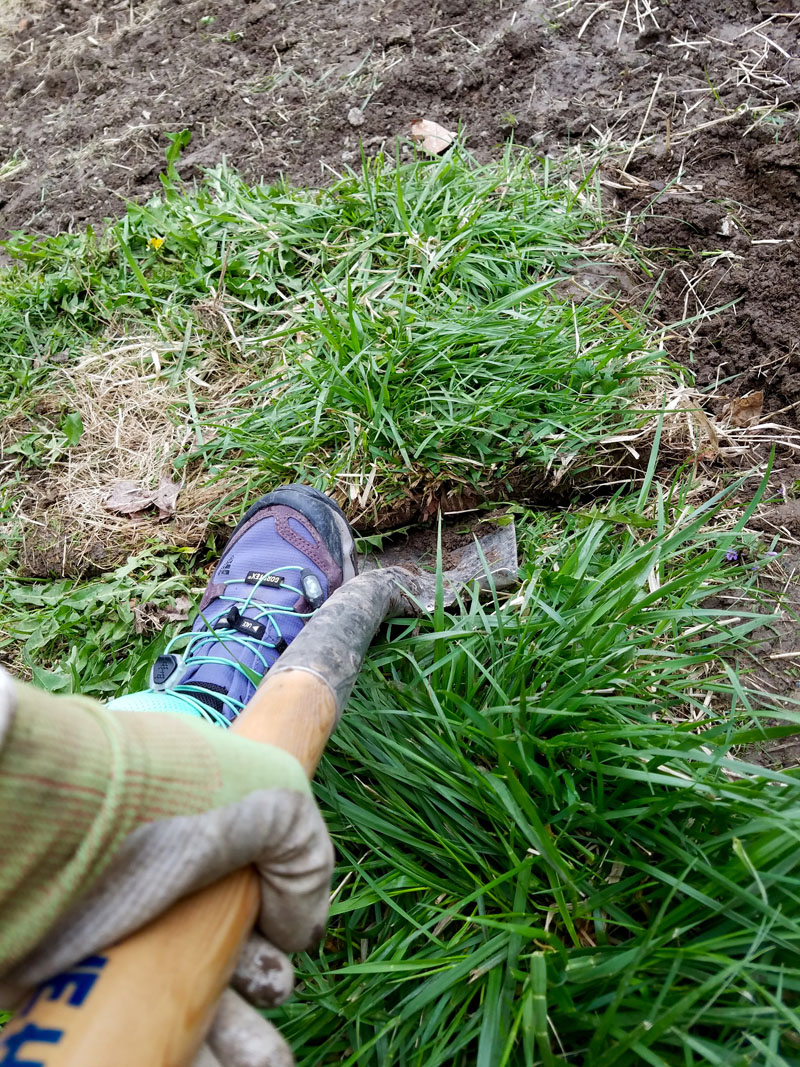
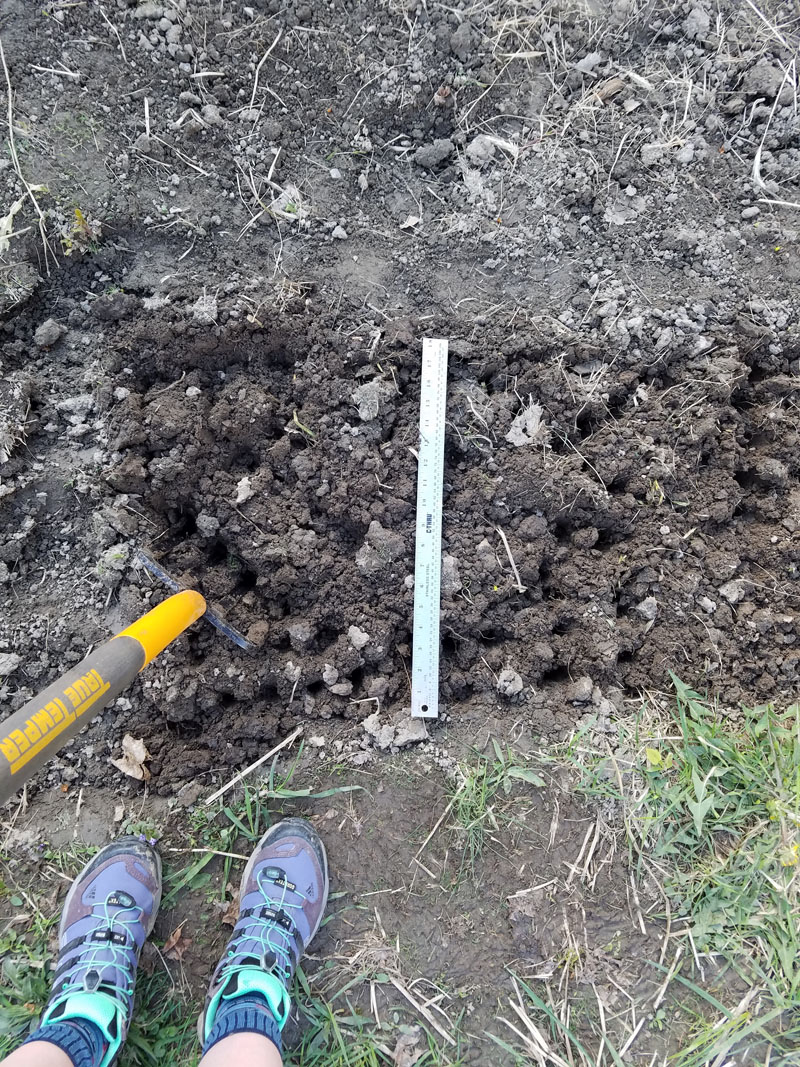
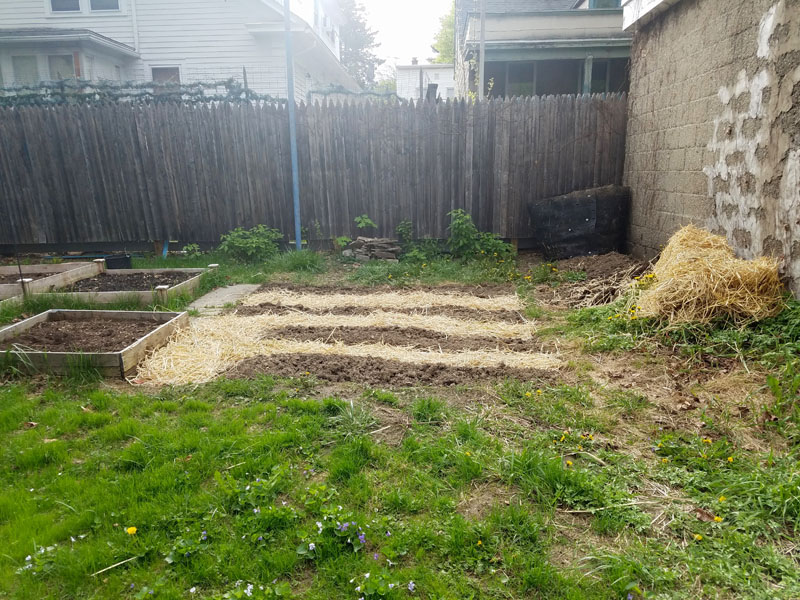
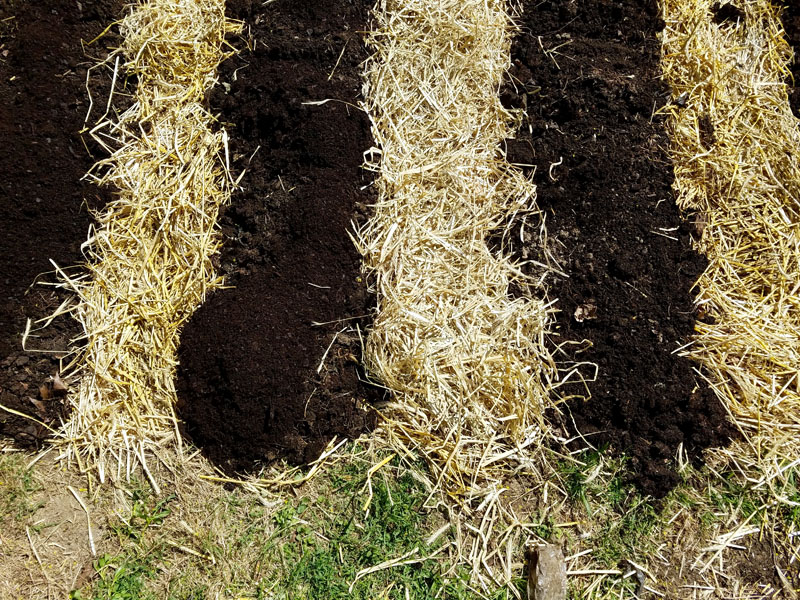
At every step, I realize something I could have planned ahead for a bit better. I reference a book I have on vegetable gardening called The Vegetable Gardener’s Bible by Edward C. Smith. From that book, I learned how to dig up the patch I am going to use for growing. Of course, it says you can do it in the fall, by turning the grass back into the ground and it’ll incorporate into the soil. However, I did this in the spring (fairly last-minute). So the alternative method I used was digging up the sod in patches, and stacking it upside down to sit for a year and become compost. In my head, it was a neat stack of square patches of sod. The reality was a messy pile filling my compost container to the brim—but here again, I got it done—and that’s the most important thing.
Here are some tips I learned in this year’s expansion project:
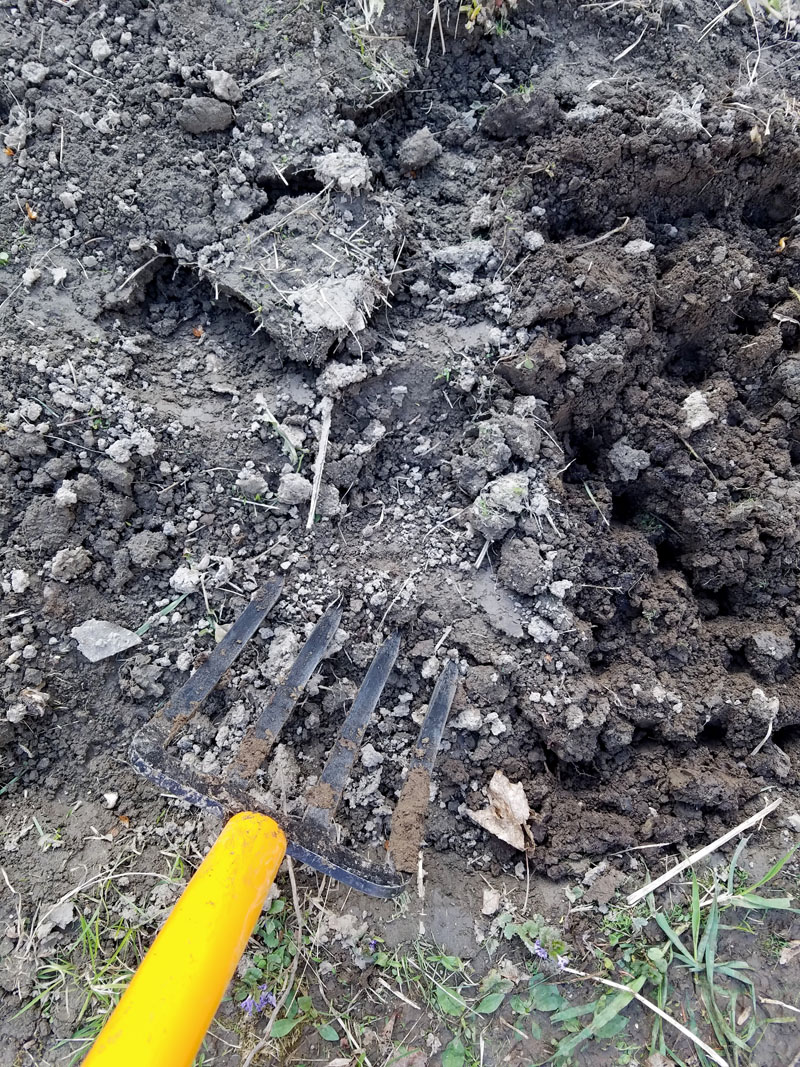
- You can get it done with a spade and a digging fork (which looks like a pitch fork but has sturdier tines).
- Dig when the ground is wet, after a rain, instead of when the ground is bone-dry.
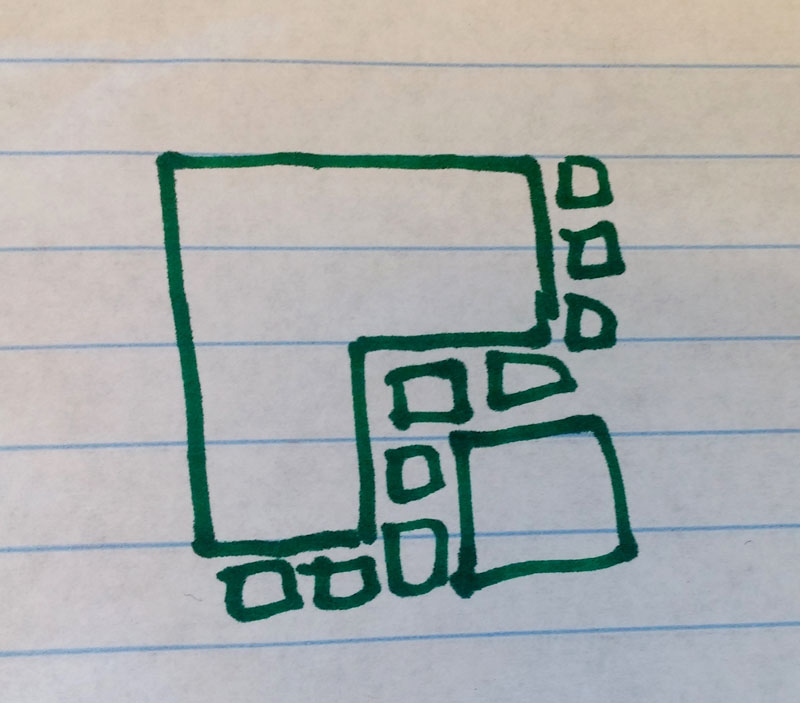
- Have a layout plan ahead of time. This extra step will save you time in the end.
- You’re going to keep learning, which involves multiple failures. Don’t stress out about it.
Although I finished expanding my vegetable garden, I do plan on digging up an edge garden next to my garage. I intend to plant some sunflower seeds I was gifted last year that need a place to grow up. That project involves digging up the mugwort and its plethora of rhizomes that are invading the area. The point being, there’s always a new project in your garden—and a new chance to experience the sense of purpose and accomplishment that is every gardener’s reward. Enjoy this planting season, and remember: there’s always a new one around the corner.